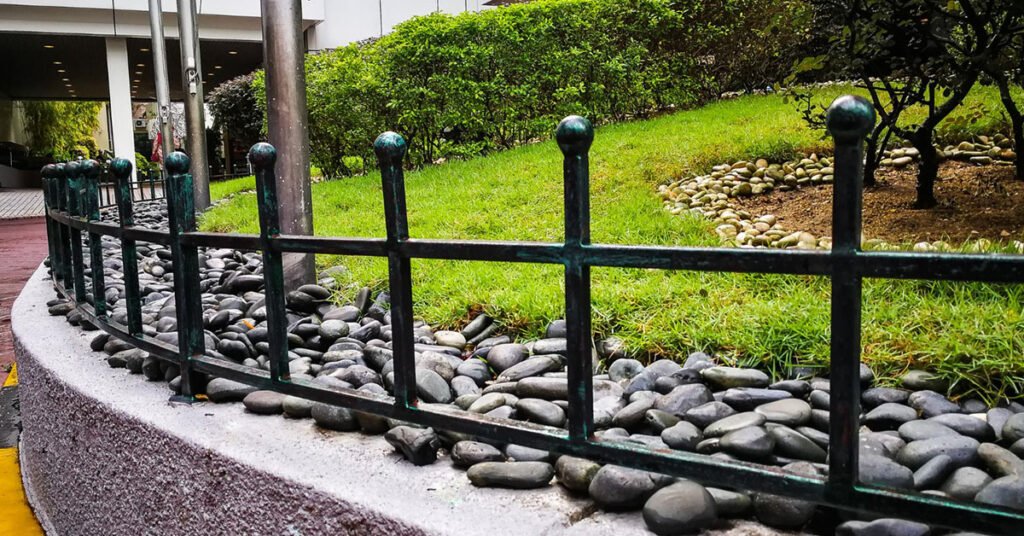
Enhancing the appearance of landscaping rocks by making them look wet can add visual interest and create a polished, professional look to outdoor spaces. Whether you’re designing a garden, pathway, or water feature, achieving the appearance of wet rocks can elevate the overall aesthetic. In this guide, we’ll explore various techniques and tips to achieve this effect effectively.
How to Make Landscaping Rocks Look Wet
Making landscaping rocks appear wet can significantly enhance their visual appeal and add a polished look to outdoor spaces. Whether you’re designing a garden pathway, a water feature, or enhancing the borders of a landscape, achieving the effect of wet rocks can elevate the overall aesthetic. Here are some effective techniques to achieve this effect:
1. Water Spray Method
Equipment Needed:
- Garden hose with a mist setting or spray bottle.
Technique:
- Lightly spray the rocks with water using a garden hose or mist setting on a spray bottle.
- Start with a light mist to simulate a natural wet appearance.
- Adjust the spray intensity to achieve the desired effect and coverage.
- Ensure even distribution of water across all surfaces of the rocks.
Benefits:
- Quick and easy method to enhance the natural color and texture of rocks.
- Temporary effect that can be refreshed as needed.
- Ideal for immediate visual enhancement without using additional products.
2. Applying Stone Enhancer Sealer
Product Selection:
- Choose a stone enhancer sealer suitable for the type of rocks used (e.g., porous or non-porous).
Application:
- Clean the rocks thoroughly to remove dust and debris.
- Follow manufacturer instructions for applying the sealer evenly over the rocks.
- Use a brush or roller to ensure complete coverage and avoid streaks.
- Allow the sealer to dry according to the recommended time frame.
Benefits:
- Enhances natural colors and provides a glossy finish resembling wet rocks.
- Offers long-lasting protection against weathering and UV damage.
- Available in various finishes to match the desired aesthetic.
3. Use of Natural Oils
Recommended Oils:
- Mineral oil or linseed oil.
Application:
- Apply a small amount of oil to a soft cloth or sponge.
- Gently rub the oil onto the surface of the rocks in a circular motion.
- Allow the oil to penetrate the rocks and enhance their natural sheen.
- Buff off any excess oil to achieve a smooth and glossy finish.
Benefits:
- Deepens the colors of the rocks and highlights their natural textures.
- Provides a natural-looking wet effect without altering the rock’s appearance.
- Requires minimal maintenance and can be reapplied as needed.
Best Practices
- Preparation: Clean rocks thoroughly before applying any treatments to ensure optimal results.
- Testing: Test sealers or oils on a small area of the rocks to check compatibility and desired effect.
- Maintenance: Monitor the rocks periodically and reapply treatments as necessary to maintain the wet look.
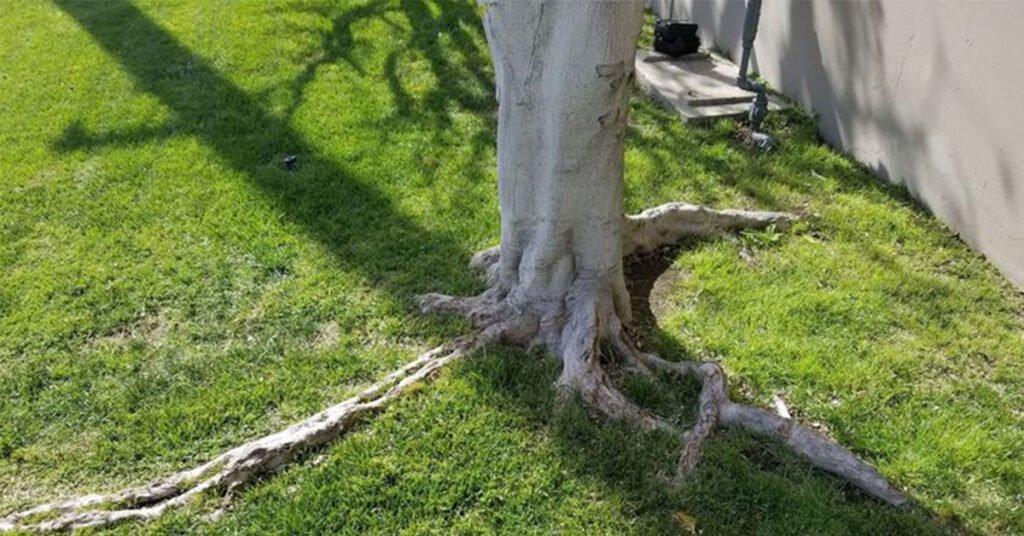
Read More: Can Roots Grow Through Landscape Fabric?
Conclusion
Enhancing the appearance of landscaping rocks to look wet adds depth and character to outdoor environments. By utilizing these techniques—whether through water spraying, sealers, or natural oils—landscapers can achieve a professional and aesthetically pleasing finish that complements various landscaping designs. Experiment with different methods to discover the best approach for your specific project needs and enjoy the enhanced beauty of your landscaped spaces.