If you’re starting a career in the landscaping industry, one essential skill you’ll need is knowing how to work with landscape fabric. Proper use of landscape fabric helps control weeds, retain soil moisture, and maintain a neat appearance in garden beds. In this guide, we’ll walk you through the step-by-step process on how to cut holes in landscape fabric. Let’s get started.
What is Landscape Fabric?
Landscape fabric is a permeable material used in gardens and landscaping projects to suppress weed growth while allowing water and nutrients to reach the soil. It’s commonly used under mulch, gravel, or soil in garden beds, pathways, and other landscaped areas.
Why Cutting Holes in Landscape Fabric is Important
Cutting precise holes in landscape fabric is crucial for several reasons:
- Plant Health: Ensures your plants receive adequate space to grow.
- Weed Control: Prevents weeds from exploiting gaps in the fabric.
- Water Flow: Maintains proper water drainage to your plants’ roots.
How to Cut Holes in Landscape Fabric
Cutting holes in landscape fabric is a straightforward yet crucial step in landscaping projects. These holes allow plants to thrive while keeping weeds suppressed. Follow these steps to cut holes in landscape fabric effectively:
Tools and Materials Needed:
- Utility knife or sharp scissors: Ensure they are sharp to make clean cuts.
- Measuring tape: For accurate measurement of hole sizes.
- Marker or chalk: To mark where holes will be cut.
- Cutting board or scrap wood: To protect surfaces while cutting.
Step-by-Step Guide:
- Plan Your Layout: Decide where each plant will go and mark these spots on the landscape fabric using a marker or chalk.
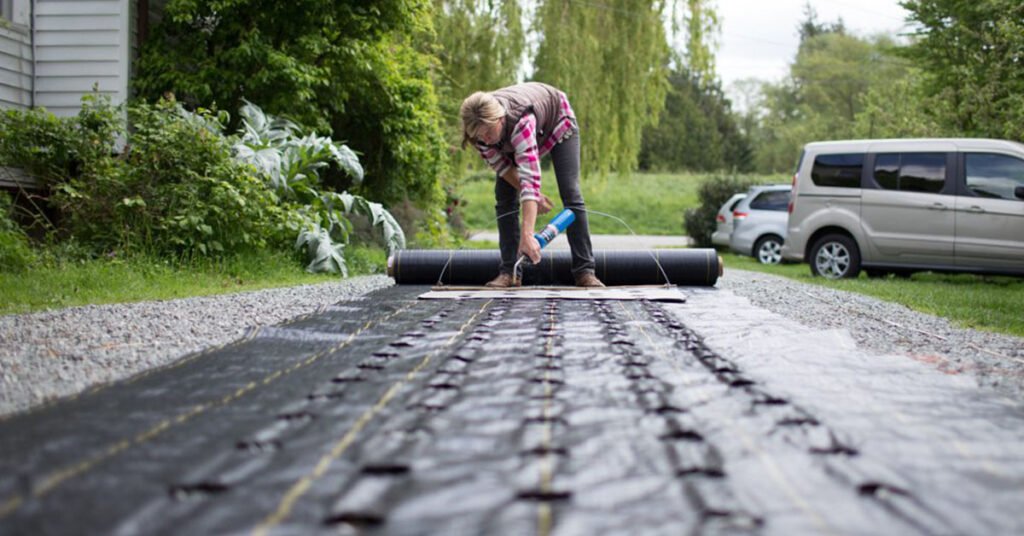
- Secure the Fabric: Lay the fabric over the desired area and secure it with fabric pins or garden staples at the edges and corners to keep it in place.
- Measure and Mark: Use a measuring tape to determine the size of each hole. Mark the center of each hole location on the fabric.
- Cut the Hole: Place a cutting board or scrap wood underneath the fabric to protect the surface beneath. Using a utility knife or sharp scissors, carefully cut an “X” shape or a circle at each marked spot. For an “X” cut, start at the center of the marked spot and cut towards each corner. For a circular cut, carefully cut around the marked circle.
- Fold Back or Remove Excess: Fold back the fabric flaps created by the “X” cut or remove the excess fabric for a circular cut. Ensure the hole is slightly larger than the plant’s root ball for ease of planting.
- Planting: Dig a hole in the soil underneath the fabric at each cut-out area. Place the plant into the hole, ensuring the roots are well-positioned and covered with soil. Fold the fabric flaps back around the base of the plant.
- Secure Around the Plant: Secure the fabric around the base of each plant with additional fabric pins or staples to prevent shifting and ensure a neat appearance.
Tips:
- Sharp Tools: Use sharp scissors or a utility knife to make clean cuts and prevent fraying of the fabric.
- Double-Check Measurements: Ensure the holes are sized appropriately for each plant to ensure proper growth.
- Maintenance: Regularly check the fabric for any tears or gaps and repair them promptly to maintain its effectiveness.
Read More: How To Dispose Of Landscaping Rocks
Conclusion
Mastering the technique of cutting holes in landscape fabric is a valuable skill for anyone looking to start a career in landscaping. It ensures healthy plant growth, effective weed control, and a professional-looking landscape. By following the steps outlined in this guide and avoiding common mistakes, you’ll be well on your way to creating beautiful, well-maintained outdoor spaces.