Entering the landscaping industry can be both rewarding and challenging. One crucial skill that every aspiring landscaper should master is cutting landscape fabric. In this comprehensive guide, we’ll explore how to cut landscape fabric, offering valuable insights and tips for beginners. Let’s get started.
How to Cut Landscape Fabric
Cutting landscape fabric may seem intimidating at first, but with the right tools and techniques, you’ll soon master this essential skill. Follow these steps to achieve clean, precise cuts every time:
Step 1: Gather Your Tools
Before you begin cutting landscape fabric, gather the necessary tools:
- Sharp scissors or a utility knife
- Measuring tape or ruler
- Chalk or marker for marking measurements
- Cutting surface (such as a cutting mat or sturdy board)
Having the right tools at hand will make the cutting process smoother and more efficient.
Step 2: Measure and Mark
Start by measuring the length of fabric you need for your project using a measuring tape or ruler. Use chalk or a marker to mark the measurements directly onto the fabric. Double-check your measurements to ensure accuracy before proceeding to cut.
Step 3: Make Straight Cuts
For straight cuts, place the landscape fabric on a flat surface. Hold the fabric firmly in place to prevent shifting. Using sharp scissors or a utility knife, carefully cut along the marked lines. Apply steady pressure and smooth, even strokes to achieve clean cuts.
Step 4: Cutting Around Curves
Cutting landscape fabric around curves requires a bit more finesse. Start by loosely laying the fabric over the curved area. Use chalk or a marker to trace the outline of the curve onto the fabric.
Slowly and carefully cut along the marked line, making small, controlled movements to maintain the shape of the curve. Take your time to ensure precision.
Step 5: Overlapping Seams
In some cases, you may need to overlap multiple pieces of fabric to cover a larger area. When creating overlapping seams, cut the fabric with a slight overlap (typically 3-4 inches).
Secure the edges using landscape fabric pins or staples to prevent shifting. Ensure that the overlap is tight to maintain weed suppression effectiveness.
Step 6: Finishing Touches
Once you’ve cut the landscape fabric to the desired size and shape, inspect the edges for any fraying or unevenness. Trim any excess fabric or uneven edges with scissors to achieve a neat and professional finish.
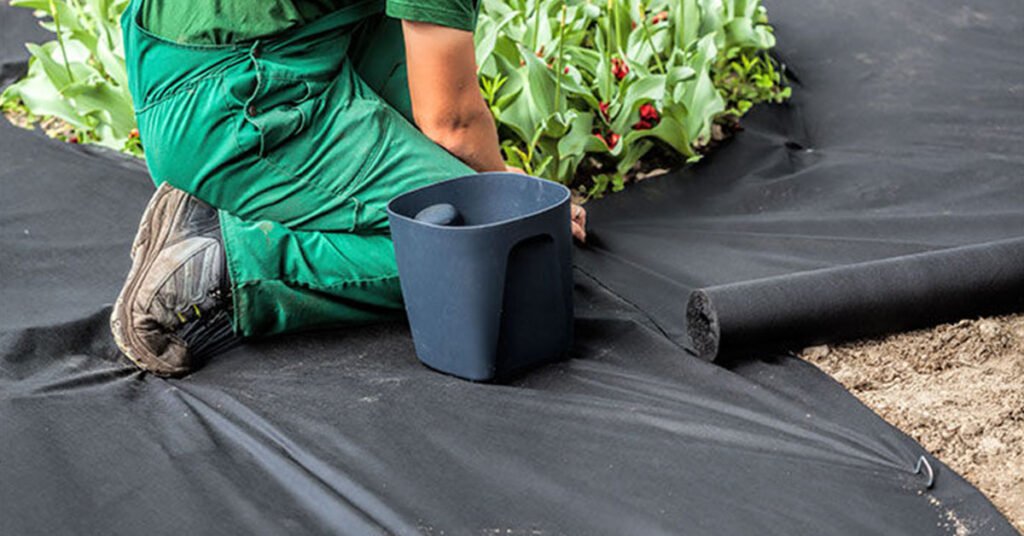
Step 7: Secure the Fabric
After cutting and trimming the landscape fabric, secure it in place using landscape fabric pins or staples. Ensure that the fabric lays flat and snug against the ground to maximize weed suppression and drainage effectiveness.
Read More: Can You Put Landscaping Fabric Over Grass?
Conclusion
With these simple steps, you can confidently cut landscape fabric for your landscaping projects. Remember to use sharp tools, double-check your measurements, and take your time to achieve precise cuts. Mastering this skill will make your landscaping projects more efficient and professional-looking.