Landscape ties are essential elements in landscaping projects, serving both functional and aesthetic purposes. Whether you’re looking to define garden beds, create retaining walls, or enhance the overall look of your outdoor space, installing landscape ties can significantly elevate your landscaping efforts. If you’re new to the landscaping industry and eager to learn how to install landscape ties, this guide will walk you through the process step-by-step.
What are Landscape Ties
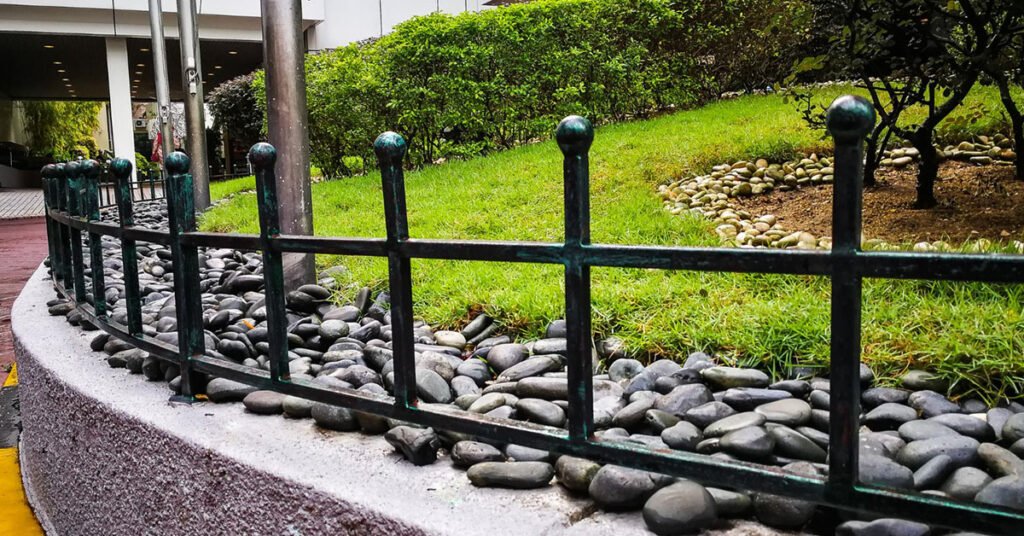
Before diving into the installation process, it’s essential to understand what landscape ties are and their different types. Landscape ties, also known as railroad ties or sleepers, are sturdy materials typically made from timber or concrete. They’re used to create boundaries, retain soil, and add structure to garden beds and other landscaped areas.
When choosing landscape ties, consider factors such as durability, aesthetics, and environmental impact. Timber ties offer a natural look and are relatively easy to work with, while concrete ties provide durability and a modern appearance. Select the type that best suits your landscaping needs and preferences.
How to Install Landscape Ties
Installing landscape ties is a straightforward process that, when done correctly, can enhance the functionality and aesthetics of your outdoor space. Follow these steps to ensure a successful installation:
Preparing for Installation
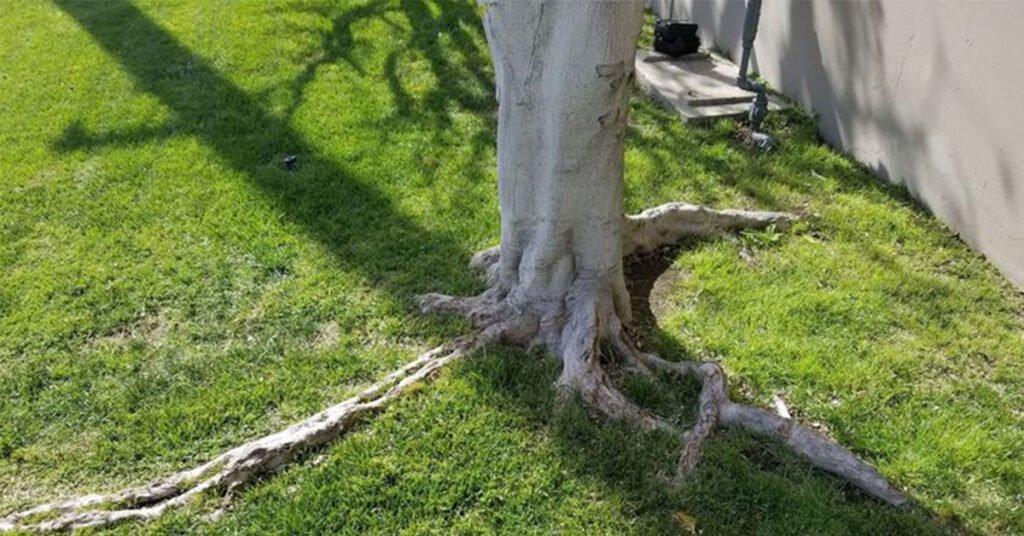
Before installing landscape ties, it’s crucial to prepare the area properly. Begin by clearing the installation site of any debris, vegetation, or obstacles that could interfere with the project. Ensure the ground is level and compacted to provide a stable foundation for the landscape ties. This preparation step not only facilitates easier installation but also enhances the longevity and stability of the structure once it’s in place.
Measuring and Marking
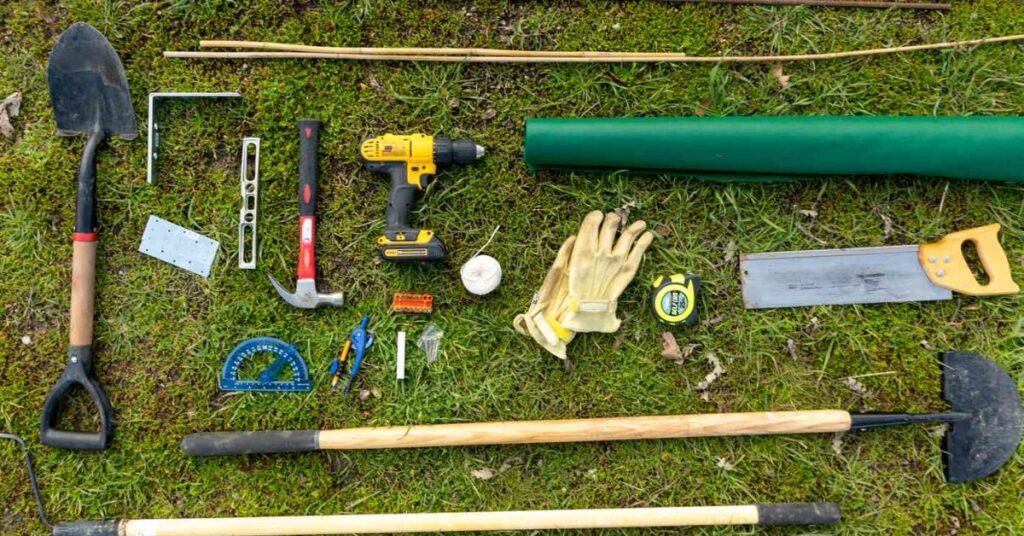
Next, measure and mark the layout for your landscape ties. Use a measuring tape to determine the desired length and configuration of the ties. Mark the installation lines clearly using stakes and string or a chalk line. This step is essential for visualizing the project’s layout and ensuring accurate placement of the landscape ties according to your design and landscaping needs.
Digging Trenches
After marking the layout, proceed to dig trenches along the marked lines to accommodate the landscape ties. The depth of the trenches should be sufficient to hold at least half of the height of the ties, ensuring stability and durability once installed. Take care to dig evenly and adjust the depth as necessary to maintain consistency along the entire installation area. Proper trenching sets the foundation for securely positioning the landscape ties in place.
Laying the Landscape Ties
With the trenches prepared, it’s time to begin laying the landscape ties. Start by placing the first tie in the trench, ensuring it sits level and aligns with the marked installation lines. Use a level to check for horizontal alignment and make adjustments as needed. Depending on the type of landscape ties—whether timber or concrete—secure them in place using appropriate fasteners. For timber ties, drive rebar through pre-drilled holes into the ground; for concrete ties, position them securely within the trench.
Stacking and Securing
Continue the installation by stacking additional landscape ties on top of the first one, staggering the joints similar to how you would lay bricks. This staggered pattern enhances stability and structural integrity, especially for retaining walls or elevated landscaping features. Throughout this process, periodically check the alignment and levelness of the ties using a level. Secure each tie firmly in place with rebar, screws, or other suitable fasteners, ensuring they remain stable and aligned throughout the installation process.
Backfilling (for Retaining Walls)
If your project involves creating a retaining wall with landscape ties, backfill behind the ties with gravel or drainage aggregate. This backfilling not only adds stability to the structure but also improves drainage and prevents soil erosion behind the wall. Compact the backfill material gently as you proceed, ensuring it fills the space evenly and supports the weight of the landscape ties. Proper backfilling enhances the overall effectiveness and longevity of the retaining wall for your landscaping needs.
Finishing Touches and Clean Up
Once all landscape ties are securely installed and any necessary backfilling is complete, take the time to perform final checks and adjustments. Double-check the alignment and levelness of the entire structure to ensure it meets your design specifications and functional requirements. Trim any excess rebar or screws protruding from the ties for a clean, polished finish. Lastly, remove debris and clean the surrounding area to enhance the aesthetic appeal and safety of your newly installed landscape ties.
Conclusion
Installing landscape ties is a rewarding endeavor that adds both functionality and beauty to outdoor spaces. By following this step-by-step guide, beginners in the landscaping industry can successfully complete their first landscape tie installation project with confidence. Remember to plan carefully, prioritize safety, and enjoy the process of transforming your landscape with durable and attractive landscape ties.