If you’re eager to kickstart your career in the landscaping industry, understanding the fundamentals is key. One essential aspect of landscaping is learning how to install landscape timbers effectively. In this comprehensive guide, we’ll walk you through the step-by-step process of how to install landscape timbers. Let’s get started.
What Are Landscape Timbers?
Landscape timbers are sturdy, wooden beams typically used to create borders, retaining walls, raised garden beds, and other landscaping features. They come in various sizes and materials, including treated wood, cedar, and composite materials.
Materials You’ll Need
To get started, gather the following materials:
- Landscape timbers
- Wooden stakes
- Gravel or crushed stone
- Landscape fabric
- Power saw
- Drill
- Screws or rebar
- Level
- Hammer
- Safety gear (gloves, goggles, etc.)
How to Install Landscape Timbers
The following are the steps that you should follow to install landscape timbers.
1. Planning and Preparation
Begin by planning the layout of your landscaping project. Mark the area where you want to install the landscape timbers using wooden stakes and string. Clear the area of any debris, rocks, or vegetation.
2. Excavation
Using a shovel, dig a trench along the marked line. The depth of the trench should be equal to the height of the landscape timbers plus a few inches for a gravel base.
3. Install Gravel Base
Add a layer of gravel or crushed stone to the bottom of the trench. This will provide drainage and stability for the landscape timbers.
4. Lay Landscape Fabric
To prevent weeds from growing, lay landscape fabric along the trench. Trim the fabric to fit and secure it in place with landscape staples.
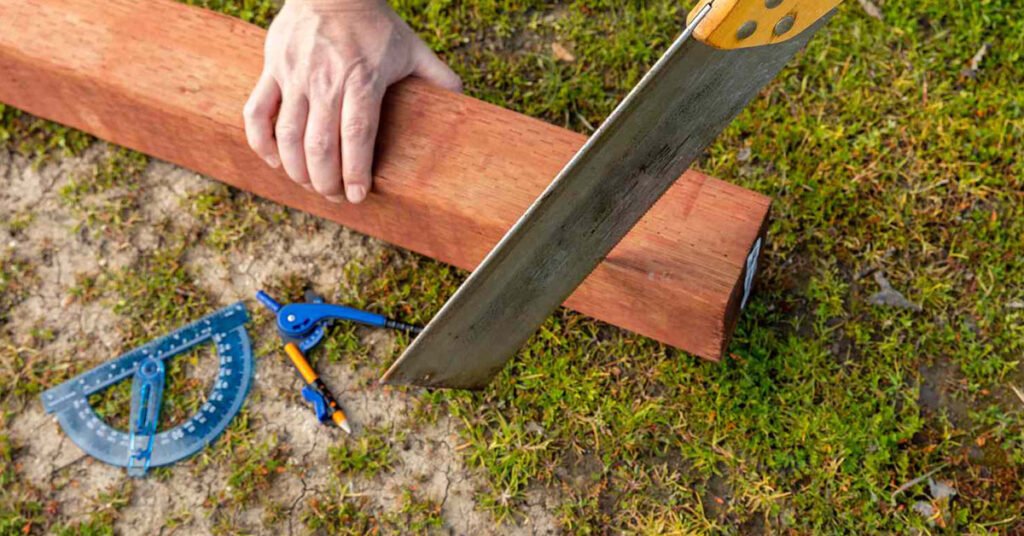
5. Cutting Landscape Timbers
Measure and cut the landscape timbers to the desired lengths using a power saw. Ensure that the ends are square for a proper fit.
6. Install Landscape Timbers
Place the landscape timbers into the trench, one at a time, ensuring they are level and aligned with each other. Use a level to check for evenness horizontally and vertically.
7. Secure Timbers
To secure the landscape timbers together and to the ground, use screws or rebar. Drill pilot holes and insert screws or rebar through the timbers and into the ground.
8. Backfill and Compact
Fill the space behind the landscape timbers with soil, gravel, or mulch as desired. Compact the backfill material using a tamper or hand compactor to ensure stability.
9. Finishing Touches
Once the landscape timbers are installed, add any finishing touches such as decorative rock, plants, or edging along the top edge for a polished look.
Read More: How To Paint Watercolor Landscapes
Conclusion
You’ve successfully installed landscape timbers and taken the first step towards a rewarding career in landscaping. Remember, practice makes perfect, so don’t be afraid to experiment and refine your skills. With dedication and attention to detail, you’ll soon be creating stunning landscapes that will impress clients and colleagues alike.