As you embark on your journey into the world of landscaping, mastering essential techniques like installing landscape edging is crucial. One of the most versatile and eco-friendly options available today is Rubberific landscape edging. In this guide, we’ll walk you through the step-by-step process of how to install rubberific landscape edging. Let’s get started.
What is Rubberific Landscape Edging
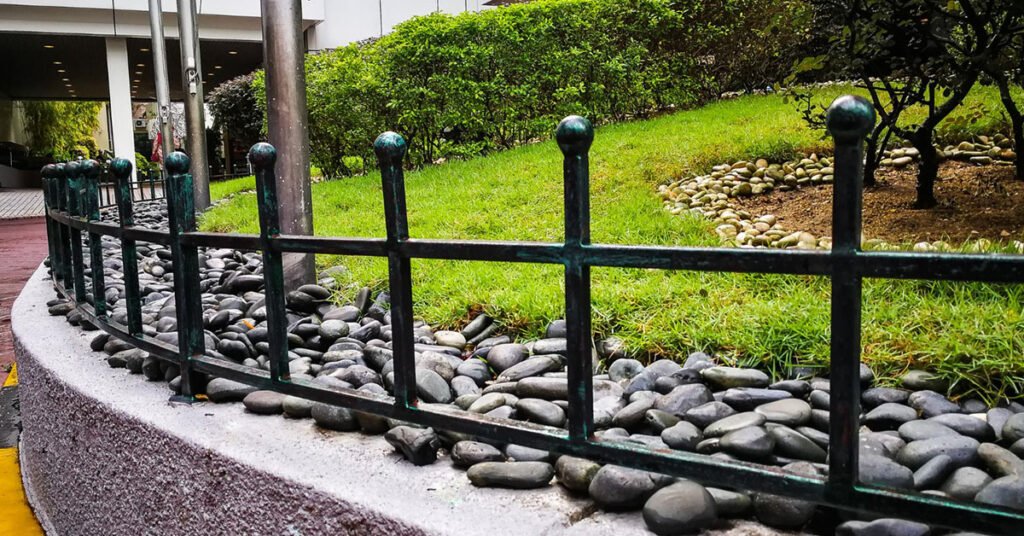
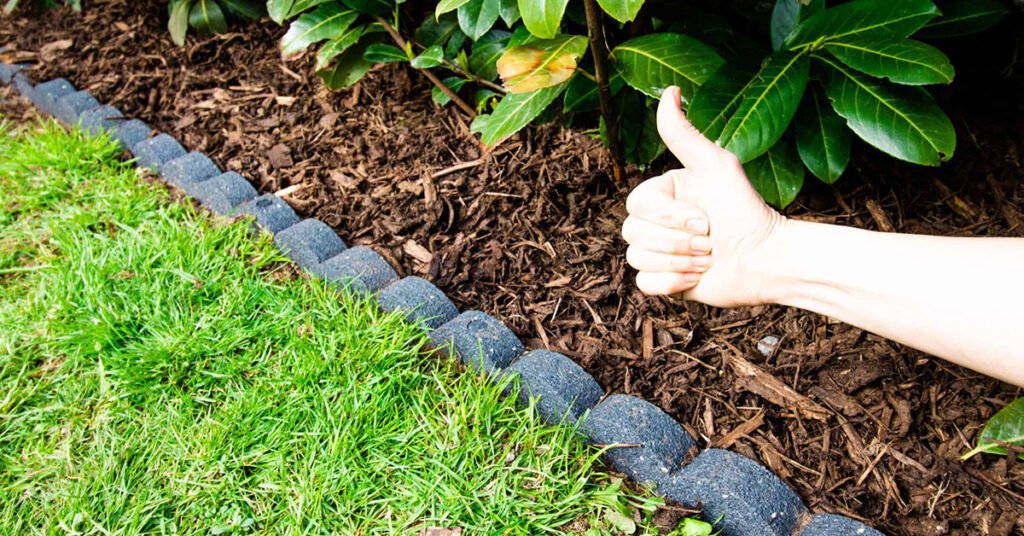
Rubberific landscape edging is made from recycled rubber, making it an environmentally friendly choice for your landscaping projects. It’s durable, flexible, and resistant to harsh weather conditions, making it ideal for both residential and commercial applications.
Tools and Materials You’ll Need
Before you begin, gather the following tools and materials:
- Rubberific landscape edging
- Hammer
- Spade or edging tool
- Landscape stakes
- Measuring tape
- Gloves
- Safety glasses
How to Install Rubberific Landscape Edging
The following are the steps that you should follow to install rubberific landscape edging.
Step 1: Planning Your Layout
Start by planning the layout of your landscape edging. Use a measuring tape to determine the desired length and shape of your edging. Mark the area with stakes or spray paint to outline the perimeter.
Step 2: Preparing the Ground
Once you’ve marked the area, use a spade or edging tool to dig a trench along the perimeter. Make sure the trench is deep enough to accommodate the height of the edging while leaving about an inch above the ground for stability.
Step 3: Installing the Edging
Unroll the Rubberific landscape edging and place it along the trench. Make sure it sits flush against the ground and follows the contour of your layout. Use landscape stakes to secure the edging in place, placing them every few feet along the length of the edging.
Step 4: Connecting the Edging
If you have multiple pieces of edging, connect them together using the provided connectors or by overlapping the ends. Ensure a snug fit to prevent any gaps that may allow soil or mulch to escape.
Step 5: Finishing Touches
Once the edging is securely in place, backfill the trench with soil to cover the bottom edge of the edging. This will provide additional stability and help prevent it from shifting over time. Add mulch or decorative stones to the exposed edge for a polished finish.
Step 6: Maintenance
Regular maintenance is essential to keep your Rubberific landscape edging looking its best. Periodically check for any signs of damage or displacement and make any necessary repairs promptly. With proper care, your edging will continue to enhance your landscaping for years to come.
Read More: What To Put Under Landscape Rock?
Conclusion
By mastering the art of installing Rubberific landscape edging, you’re taking a significant step towards a successful career in landscaping. Not only does it provide a practical solution for defining and beautifying outdoor spaces, but it also demonstrates your commitment to sustainability and environmental stewardship.
Armed with this knowledge, you’re ready to tackle any landscaping project with confidence and skill.