Landscape design brings creativity and nature’s beauty together. Rock landscaping is a fundamental aspect of this field, offering timeless elegance and durability to outdoor spaces. Whether you’re a novice landscaper or a seasoned enthusiast, mastering the art of laying rock landscapes is an essential skill to add to your toolkit. In this guide, we’ll walk you through the steps of how to lay rock landscaping that will leave a lasting impression. Let’s get started.
What is Rock Landscaping
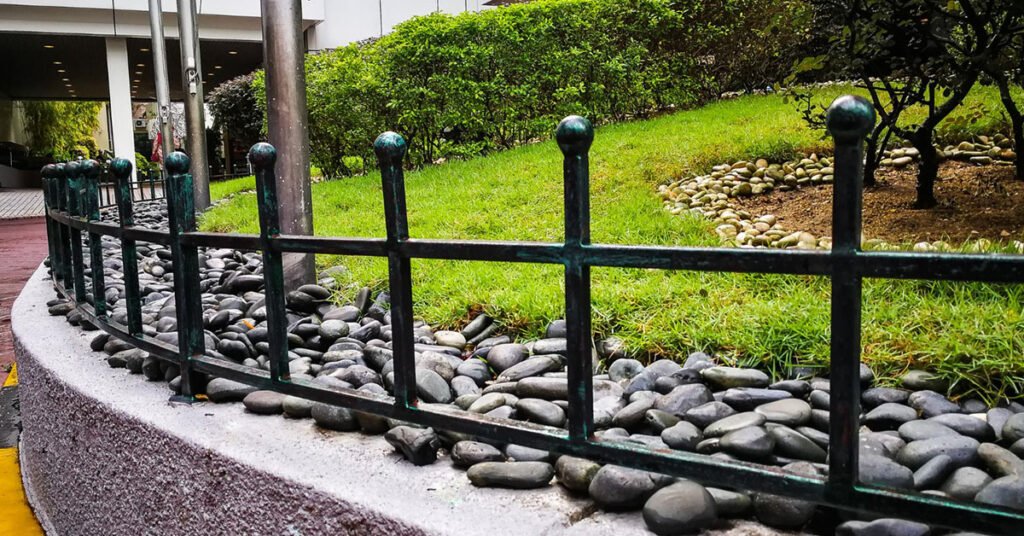
it’s crucial to understand the fundamentals of rock landscaping. Rocks come in various shapes, sizes, and textures, offering endless possibilities for design.
Familiarize yourself with the types of rocks commonly used in landscaping, such as flagstone, river rock, and boulders. Each type has its unique characteristics, which can influence the overall look and feel of your design.
How to Lay Rock Landscaping
The following is a step by step guide that you should follow to lay rock landscaping.
Planning Your Design
Every successful landscaping project starts with a well-thought-out plan. Begin by assessing the area you’ll be working with and determining the desired layout for your rock features.
Consider factors such as drainage, sun exposure, and existing vegetation when planning your design. Sketch out your ideas on paper or use digital design tools to visualize the final result before proceeding to the next step.
Preparing the Site
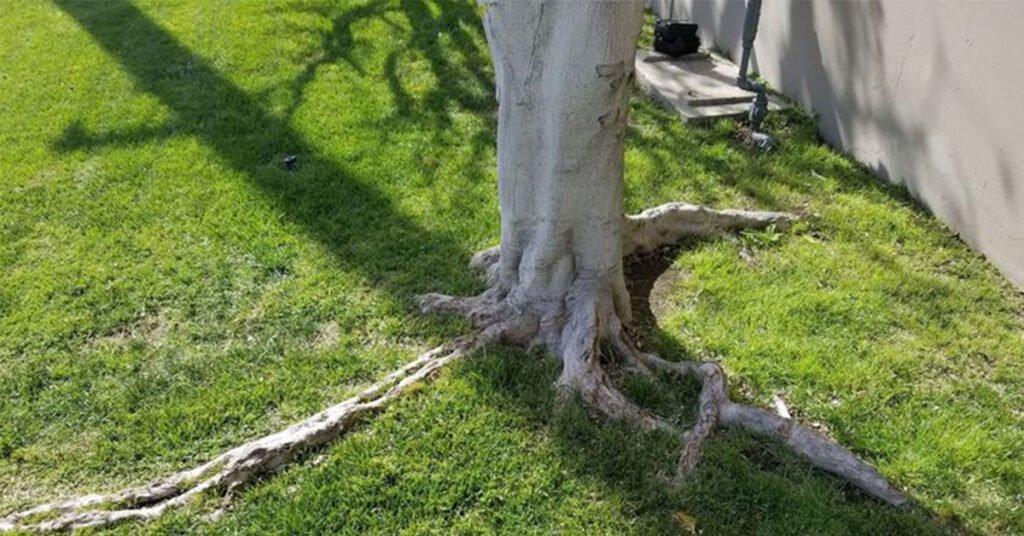
Once you’ve finalized your design, it’s time to prepare the site for installation. Begin by clearing the area of any debris, weeds, or unwanted vegetation.
Use a shovel or excavator to level the ground and create a smooth surface for laying the rocks. If necessary, install a weed barrier fabric to prevent weed growth and maintain the integrity of your landscape design.
Laying the Rocks
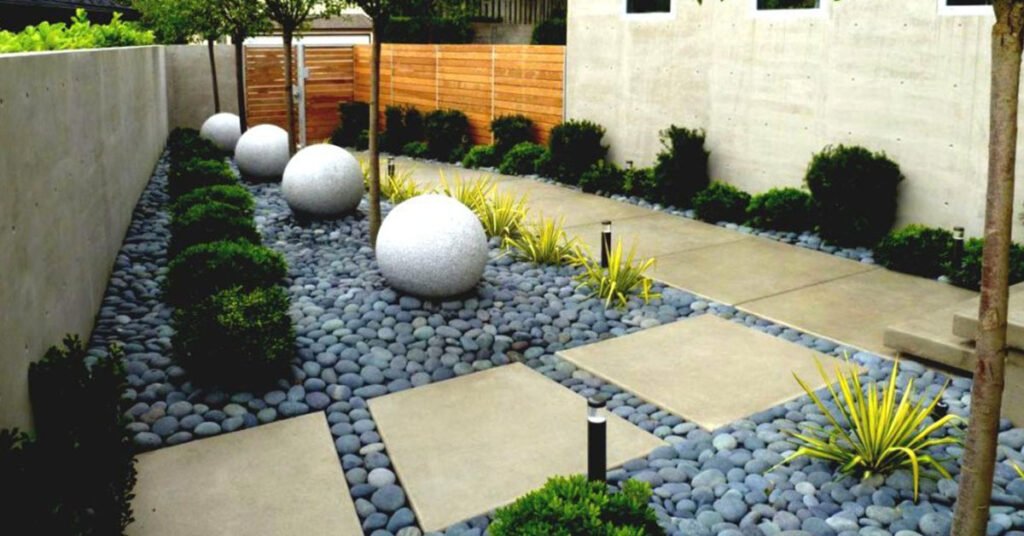
With the site prepared, it’s time to start laying the rocks according to your design. Begin with the larger rocks or boulders, strategically placing them to create focal points and anchor the overall layout.
As you progress, fill in the gaps with smaller rocks or gravel to provide stability and enhance the aesthetic appeal of your design. Take your time during this step, ensuring each rock is securely in place and contributes to the overall harmony of the landscape.
Finishing Touches
Once all the rocks are in place, step back and evaluate your design from different angles. Make any necessary adjustments to achieve the desired balance and symmetry.
Consider adding additional elements such as plants, mulch, or decorative accents to complement the rock features and enhance the overall ambiance of the space. Take pride in your work and appreciate the transformation you’ve brought to life.
Read More: How To Estimate Landscaping Jobs
Conclusion
You’ve successfully mastered the art of laying rock landscaping. As you continue to hone your skills and explore new techniques, remember that landscaping is a journey of creativity and discovery. Embrace the challenges, learn from your experiences, and let your imagination guide you as you create beautiful outdoor spaces for others to enjoy.