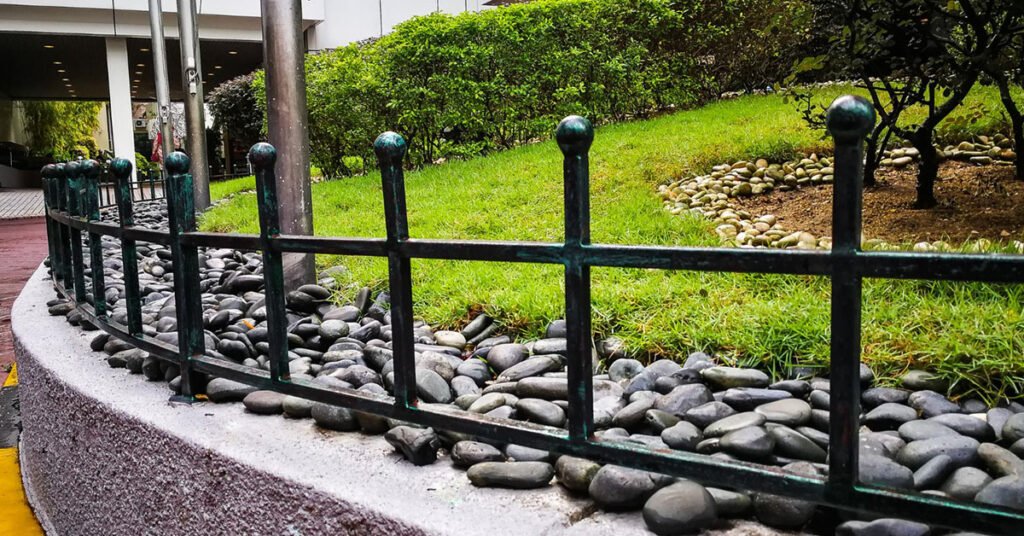
Are you passionate about transforming outdoor spaces into breathtaking landscapes? If so, mastering the art of laying rocks for landscaping can be a rewarding skill to add to your repertoire. Whether you’re considering a career in landscaping or simply want to enhance your knowledge, this comprehensive guide will walk you through the essential steps of how to lay rocks for landscaping.
How to Lay Rocks for Landscaping
The following are the steps that you should follow to lay rocks for landscaping.
Step 1: Planning Your Design
Every successful landscaping project begins with a well-thought-out plan. Start by assessing the space you’ll be working with and envisioning your desired outcome. Consider factors such as the terrain, existing vegetation, and any architectural features that may influence your design.
Sketching out a rough layout can help you visualize the placement of rocks and ensure a cohesive design aesthetic.
Step 2: Choosing the Right Rocks
Selecting the perfect rocks for your landscaping project is essential to achieving the desired look and feel. When choosing rocks, consider their size, shape, color, and texture, as well as their compatibility with the surrounding environment.
Opt for rocks that complement the natural elements of the space and create a harmonious balance between form and function.
Step 3: Preparing the Site
Once you’ve chosen your rocks, it’s time to prepare the site for installation. Begin by clearing the area of any debris, weeds, or unwanted vegetation.
Use a shovel or excavator to dig trenches for larger rocks and create a level surface for smaller rocks. If necessary, amend the soil to improve drainage and provide a stable foundation for your rock features.
Step 4: Placing the Rocks
With the site prepared, it’s time to start placing your rocks according to your design plan. Begin by positioning the largest rocks first, using them as focal points or anchor pieces to establish the framework of your landscape.
Then, fill in the gaps with smaller rocks, paying attention to spacing and arrangement to create visual interest and natural-looking patterns.
Step 5: Finishing Touches
Once all the rocks are in place, take a step back and evaluate your work. Make any necessary adjustments to ensure balance and symmetry, and add additional rocks or accents as needed to enhance the overall aesthetic.
Consider incorporating plants, mulch, or other landscaping elements to complement your rock features and bring your design to life.
Read More: How To Remove Landscape Fabric
Conclusion
Mastering the art of laying rocks for landscaping is a valuable skill that can take your career in the landscaping industry to new heights. By following these steps and honing your craft, you’ll be well-equipped to create stunning rock features that leave a lasting impression on clients and admirers alike.
So roll up your sleeves, unleash your creativity, and let the beauty of nature inspire your next landscaping masterpiece.