Are you considering a career in landscaping and curious about creating landscape mounds? Landscape mounds, also known as berms, are not only aesthetically pleasing but also serve practical purposes such as improving drainage and adding dimension to a garden or outdoor space. In this guide, we’ll take you through the steps of how to make landscape mounds. Let’s get started.
How to Make Landscape Mounds
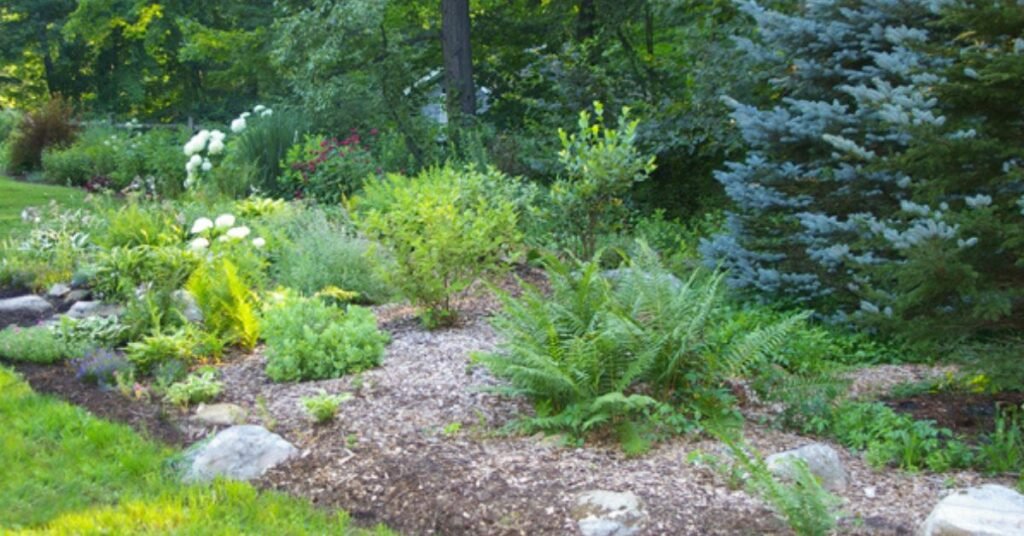
Creating landscape mounds, also known as berms, is a skill that can add depth and visual interest to any outdoor space. Follow these steps to successfully design and build landscape mounds:
1. Planning and Preparation
Before you begin construction, plan the location, size, and purpose of your landscape mound:
- Purpose: Determine whether the mound will serve aesthetic, functional (e.g., improving drainage), or both purposes.
- Location: Choose a spot that complements the overall landscape design and provides sufficient sunlight for plants.
- Shape and Size: Sketch out the desired shape and dimensions of the mound. Consider gradual slopes for easier maintenance and planting.
2. Gathering Materials
You’ll need the following materials and tools:
- Topsoil: Quality soil suitable for planting and shaping the mound.
- Compost or Mulch: Enhances soil fertility and helps retain moisture.
- Shovel, Rake, and Wheelbarrow: Basic tools for moving and shaping soil.
- Plants: Select vegetation that thrives in your climate and complements the mound’s purpose.
3. Building the Mound
Follow these steps to construct the landscape mound:
- Clear the Area: Remove existing vegetation and debris from the chosen site.
- Shape the Base: Begin by laying down a layer of topsoil to outline the base of the mound. Use a shovel and rake to shape the soil into the desired height and contours.
- Layering: Alternate layers of topsoil and compost or mulch to improve soil quality and create a stable foundation. Compact each layer gently with a rake to prevent erosion.
- Smooth and Shape: Use the rake to smooth out the surface and shape the mound to blend naturally with the surrounding landscape.
4. Planting and Mulching
- Select Plants: Choose plants based on the mound’s location (sunlight exposure, moisture levels) and intended purpose (ornamental, native species, etc.).
- Planting Technique: Dig holes slightly larger than the root balls of your plants. Arrange plants in a visually pleasing manner across the mound.
- Mulch Application: Apply a layer of mulch around the base of plants to retain moisture, suppress weeds, and enhance soil fertility.
5. Maintenance
- Watering: Ensure newly planted vegetation receives adequate water, especially during the establishment phase. Monitor soil moisture levels and adjust watering accordingly.
- Weeding: Regularly inspect the mound for weeds and remove them promptly to prevent competition for nutrients.
- Pruning and Trimming: Trim plants as needed to maintain the mound’s shape and promote healthy growth.
Read More: How To Fertilize Through Landscape Fabric
Conclusion
Building landscape mounds is a creative and practical way to enhance the beauty and functionality of outdoor spaces. By following these steps, you can create landscape mounds that not only improve drainage and soil health but also provide a visually appealing focal point in your landscaping projects.