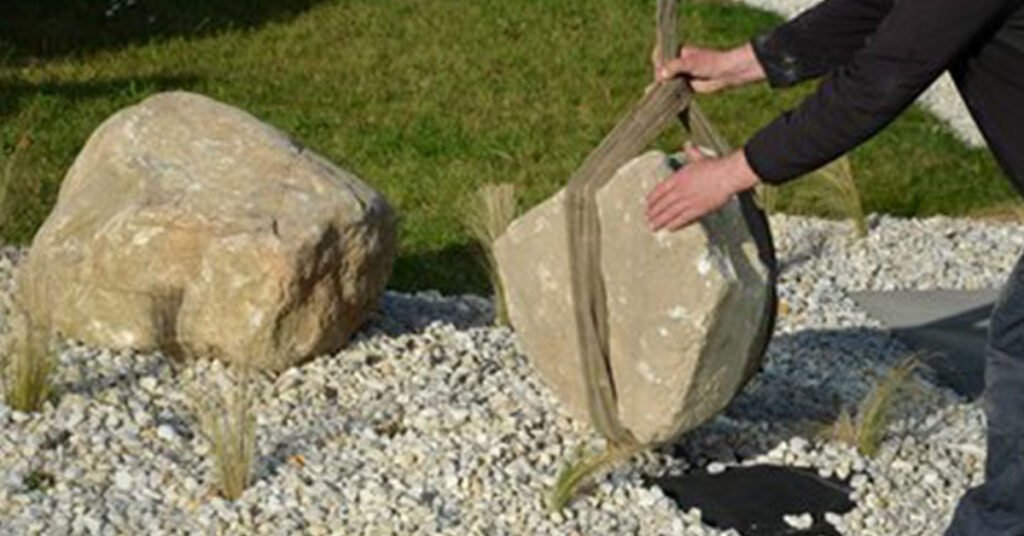
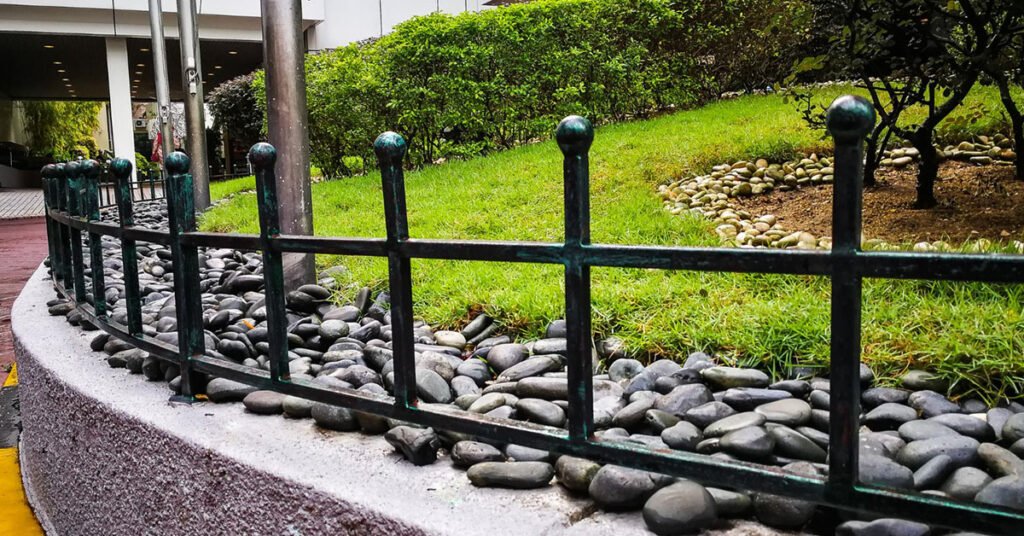
Starting a career in landscaping requires a blend of creativity, knowledge, and practical skills. One of the fundamental tasks you’ll encounter is moving landscaping rocks. Whether you’re dealing with small pebbles or large boulders, knowing how to handle these materials efficiently and safely is crucial. This guide will walk you through the steps and techniques of how to move landscaping rocks. Let’s get started.
How to Move Landscaping Rocks
Moving landscaping rocks can be a physically demanding task, but with the right approach and tools, you can handle it efficiently and safely. Here is a step-by-step guide tailored for different types and sizes of landscaping rocks.
Step 1: Gather Your Tools and Equipment
Before you start, ensure you have the necessary tools and equipment:
- Wheelbarrow
- Shovels (flat or pointed)
- Buckets
- Pry bars and rock bars
- Rock dolly
- Landscape fabric
- Gloves
- Safety gear (steel-toed boots, safety glasses, back support belts)
Step 2: Assess the Site
Evaluating the area where you’ll be moving rocks is a crucial step. Start by identifying any obstacles that could hinder the process, such as uneven ground or other landscape features.
Determine the distance between the current location of the rocks and where they need to be moved. This assessment helps you plan the most efficient route, minimizing the risk of accidents and ensuring a smoother operation.
Step 3: Moving Small Rocks and Gravel
Using a Shovel
To move small rocks and gravel, a sturdy shovel is your best tool. Begin by scooping the gravel into a wheelbarrow or bucket. Ensure you don’t overload the wheelbarrow to prevent spillage and make it easier to transport.
Tilt the wheelbarrow slightly while pushing it to maintain balance. Once you reach the desired location, gently unload the gravel to avoid scattering it.
Using Buckets
For smaller projects, buckets are very practical. Fill the buckets with small rocks or gravel using your shovel. Be careful not to overfill them to avoid straining yourself when carrying them.
Transport the buckets to the new location, and pour the contents gently to maintain order and avoid spreading the rocks too widely.
Using Landscape Fabric
When dealing with larger areas of gravel, landscape fabric can make the task more manageable. Spread the fabric underneath the gravel, then gather the edges to bundle the rocks together. This method allows you to drag the bundled fabric to the new location efficiently. Once there, simply spread the rocks out as needed.
Step 4: Transporting Medium-Sized Rocks
Hand Carrying
For medium-sized rocks, hand carrying is a straightforward method. Ensure you lift with proper technique by bending your knees and keeping your back straight.
This prevents injury and helps you manage the weight better. Carry the rocks individually to the new location and place them carefully to avoid dropping them and causing damage.
Creating a Rock Sled
A rock sled can be very useful for transporting medium-sized rocks over short distances. Use a piece of plywood or a sturdy tarp to create your sled. Load the rocks onto the sled, and then drag it to the new location.
Ensure the path is smooth to avoid unnecessary strain and to protect both the rocks and the ground from damage.
Using a Wheelbarrow
Using a wheelbarrow is another effective method for moving multiple medium-sized rocks. Load the rocks evenly into the wheelbarrow to maintain balance.
Push the wheelbarrow slowly and steadily to prevent it from tipping over. Once you reach the destination, carefully unload the rocks to avoid any mishaps.
Step 5: Handling Large Rocks and Boulders
Leveraging with a Pry Bar
Moving large rocks and boulders requires more effort and technique. A pry bar can be used to lift and shift these heavy stones. Insert the pry bar under the edge of the rock, and use smaller stones or wood blocks to create a fulcrum.
By applying pressure, you can lift the rock slightly and place support materials underneath. Repeat this process to gradually move the rock to its new location.
Using a Rock Dolly
For very large rocks, a rock dolly is essential. Position the dolly under the rock and secure it with straps to prevent it from falling off.
Carefully roll the dolly to the new location, ensuring you navigate around any obstacles. This method makes moving heavy rocks more manageable and reduces the risk of injury.
Using Mechanical Assistance
For the largest boulders, mechanical assistance is often necessary. Renting equipment such as a skid steer or mini excavator can make the job feasible.
Ensure you are properly trained to operate this machinery safely. Use the equipment to lift and transport the boulder to the new site, following all safety protocols to prevent accidents.
Step 6: Follow Safety Tips
Safety is paramount when moving landscaping rocks. Always use proper lifting techniques: bend your knees and keep your back straight to avoid strain. Wear protective gear, including gloves, steel-toed boots, safety glasses, and back support belts.
Working with a partner can provide additional safety, especially when handling larger rocks. Finally, take regular breaks to avoid overexertion, as moving rocks is physically demanding work. By adhering to these safety tips, you can ensure a smooth and safe operation.
Read More: How To Get Insurance For Landscaping Business
Final Thoughts
Mastering the skill of moving landscaping rocks is a valuable asset for anyone starting a career in the landscaping industry. By understanding the types of rocks, preparing your tools and site, and employing the right techniques, you can move rocks efficiently and safely. Remember, the key to success in landscaping is not just about brute strength but also about smart planning and execution.


