Are you considering a career in landscaping? One fundamental skill you’ll need to master is the art of mulching. Whether you’re a beginner or a seasoned professional, knowing how to re mulch landscaping is essential for maintaining the health and beauty of outdoor spaces. In this comprehensive guide, we’ll walk you through the process, step by step.
Why Re-Mulching Matters
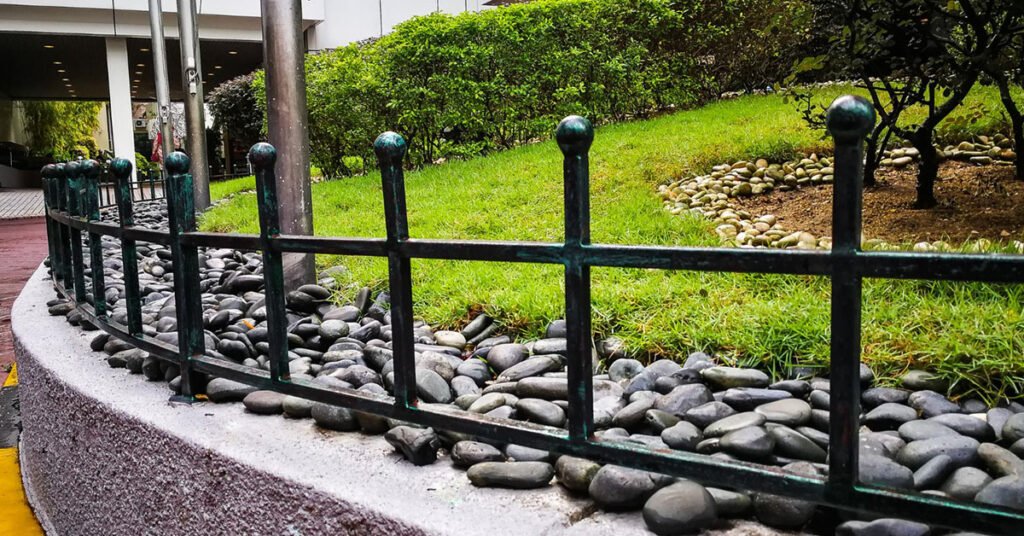
Mulch plays a crucial role in landscaping. It helps retain moisture in the soil, suppresses weeds, regulates soil temperature, and adds aesthetic appeal to outdoor areas. However, over time, mulch breaks down and loses its effectiveness. That’s where re-mulching comes in.
How to Re Mulch Landscaping
The following are the steps that you should follow to re-mulch landscaping.
Step 1: Assess the Existing Mulch
Before you begin re-mulching, take a close look at the existing mulch. Is it completely degraded, or are there areas that still look good? Remove any debris, weeds, or compacted mulch from the surface to create a clean slate.
Step 2: Choose the Right Mulch
Selecting the right type of mulch is crucial for the success of your landscaping project. Consider factors such as the local climate, plant preferences, and desired aesthetic. Common mulch options include organic materials like wood chips, bark, and compost, as well as inorganic options like rubber mulch.
Step 3: Calculate the Quantity
Measure the area you’ll be re-mulching to determine how much mulch you’ll need. As a rule of thumb, aim for a depth of 2-3 inches for most landscaping beds. Use online calculators or consult with your local landscaping supplier to estimate the required quantity accurately.
Step 4: Prepare the Soil
Before laying down the new mulch, take the time to prepare the soil underneath. Loosen compacted soil, remove any weeds or debris, and consider adding a layer of compost or fertilizer to provide essential nutrients for plant growth.
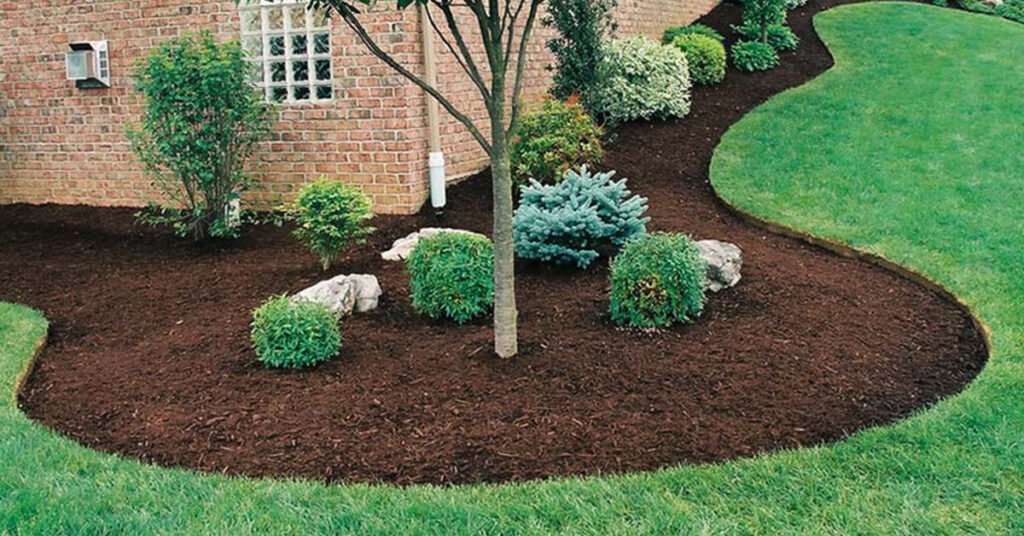
Step 5: Apply the Mulch
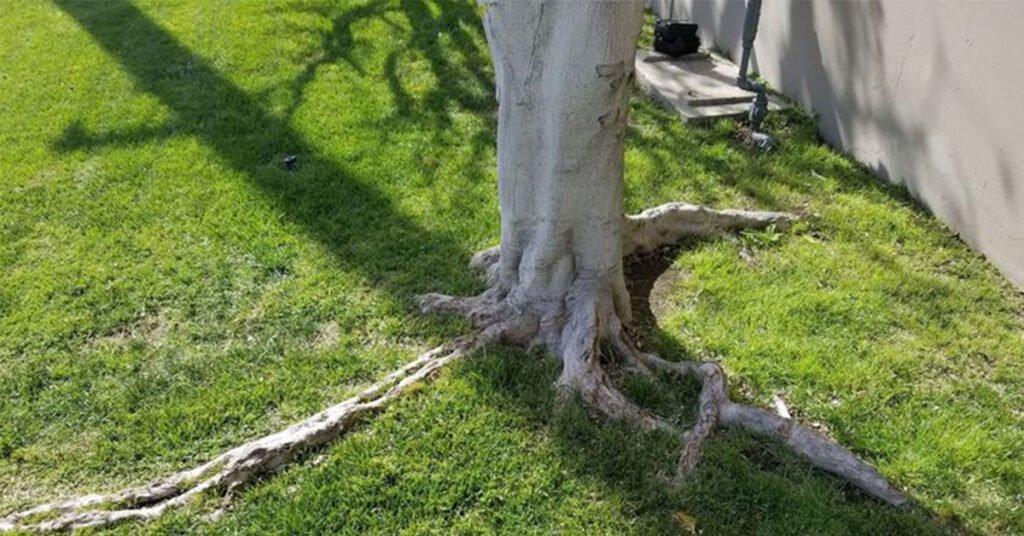
With the soil prepared, it’s time to apply the new mulch. Spread it evenly over the landscaping beds, making sure to maintain a consistent depth throughout. Avoid piling mulch against tree trunks or plant stems, as this can lead to moisture retention and potential rot.
Step 6: Finishing Touches
Once the mulch is in place, take a moment to inspect your work. Tidy up any stray mulch, and water the newly mulched areas to help settle the material and promote integration with the soil below. Stand back and admire the transformation – your landscaping beds are now refreshed and ready to thrive!
Read More: How To Move Landscaping Rocks
Conclusion
Re-mulching landscaping is a vital skill for anyone pursuing a career in the landscaping industry. By following these step-by-step instructions, you can ensure that outdoor spaces remain healthy, vibrant, and visually appealing.
Remember to choose the right mulch, prepare the soil, and apply the material evenly for best results. With practice and attention to detail, you’ll become a mulching master in no time!